
How to Create a Production Schedule in 7 Steps (Free Template)
 User Solutions Team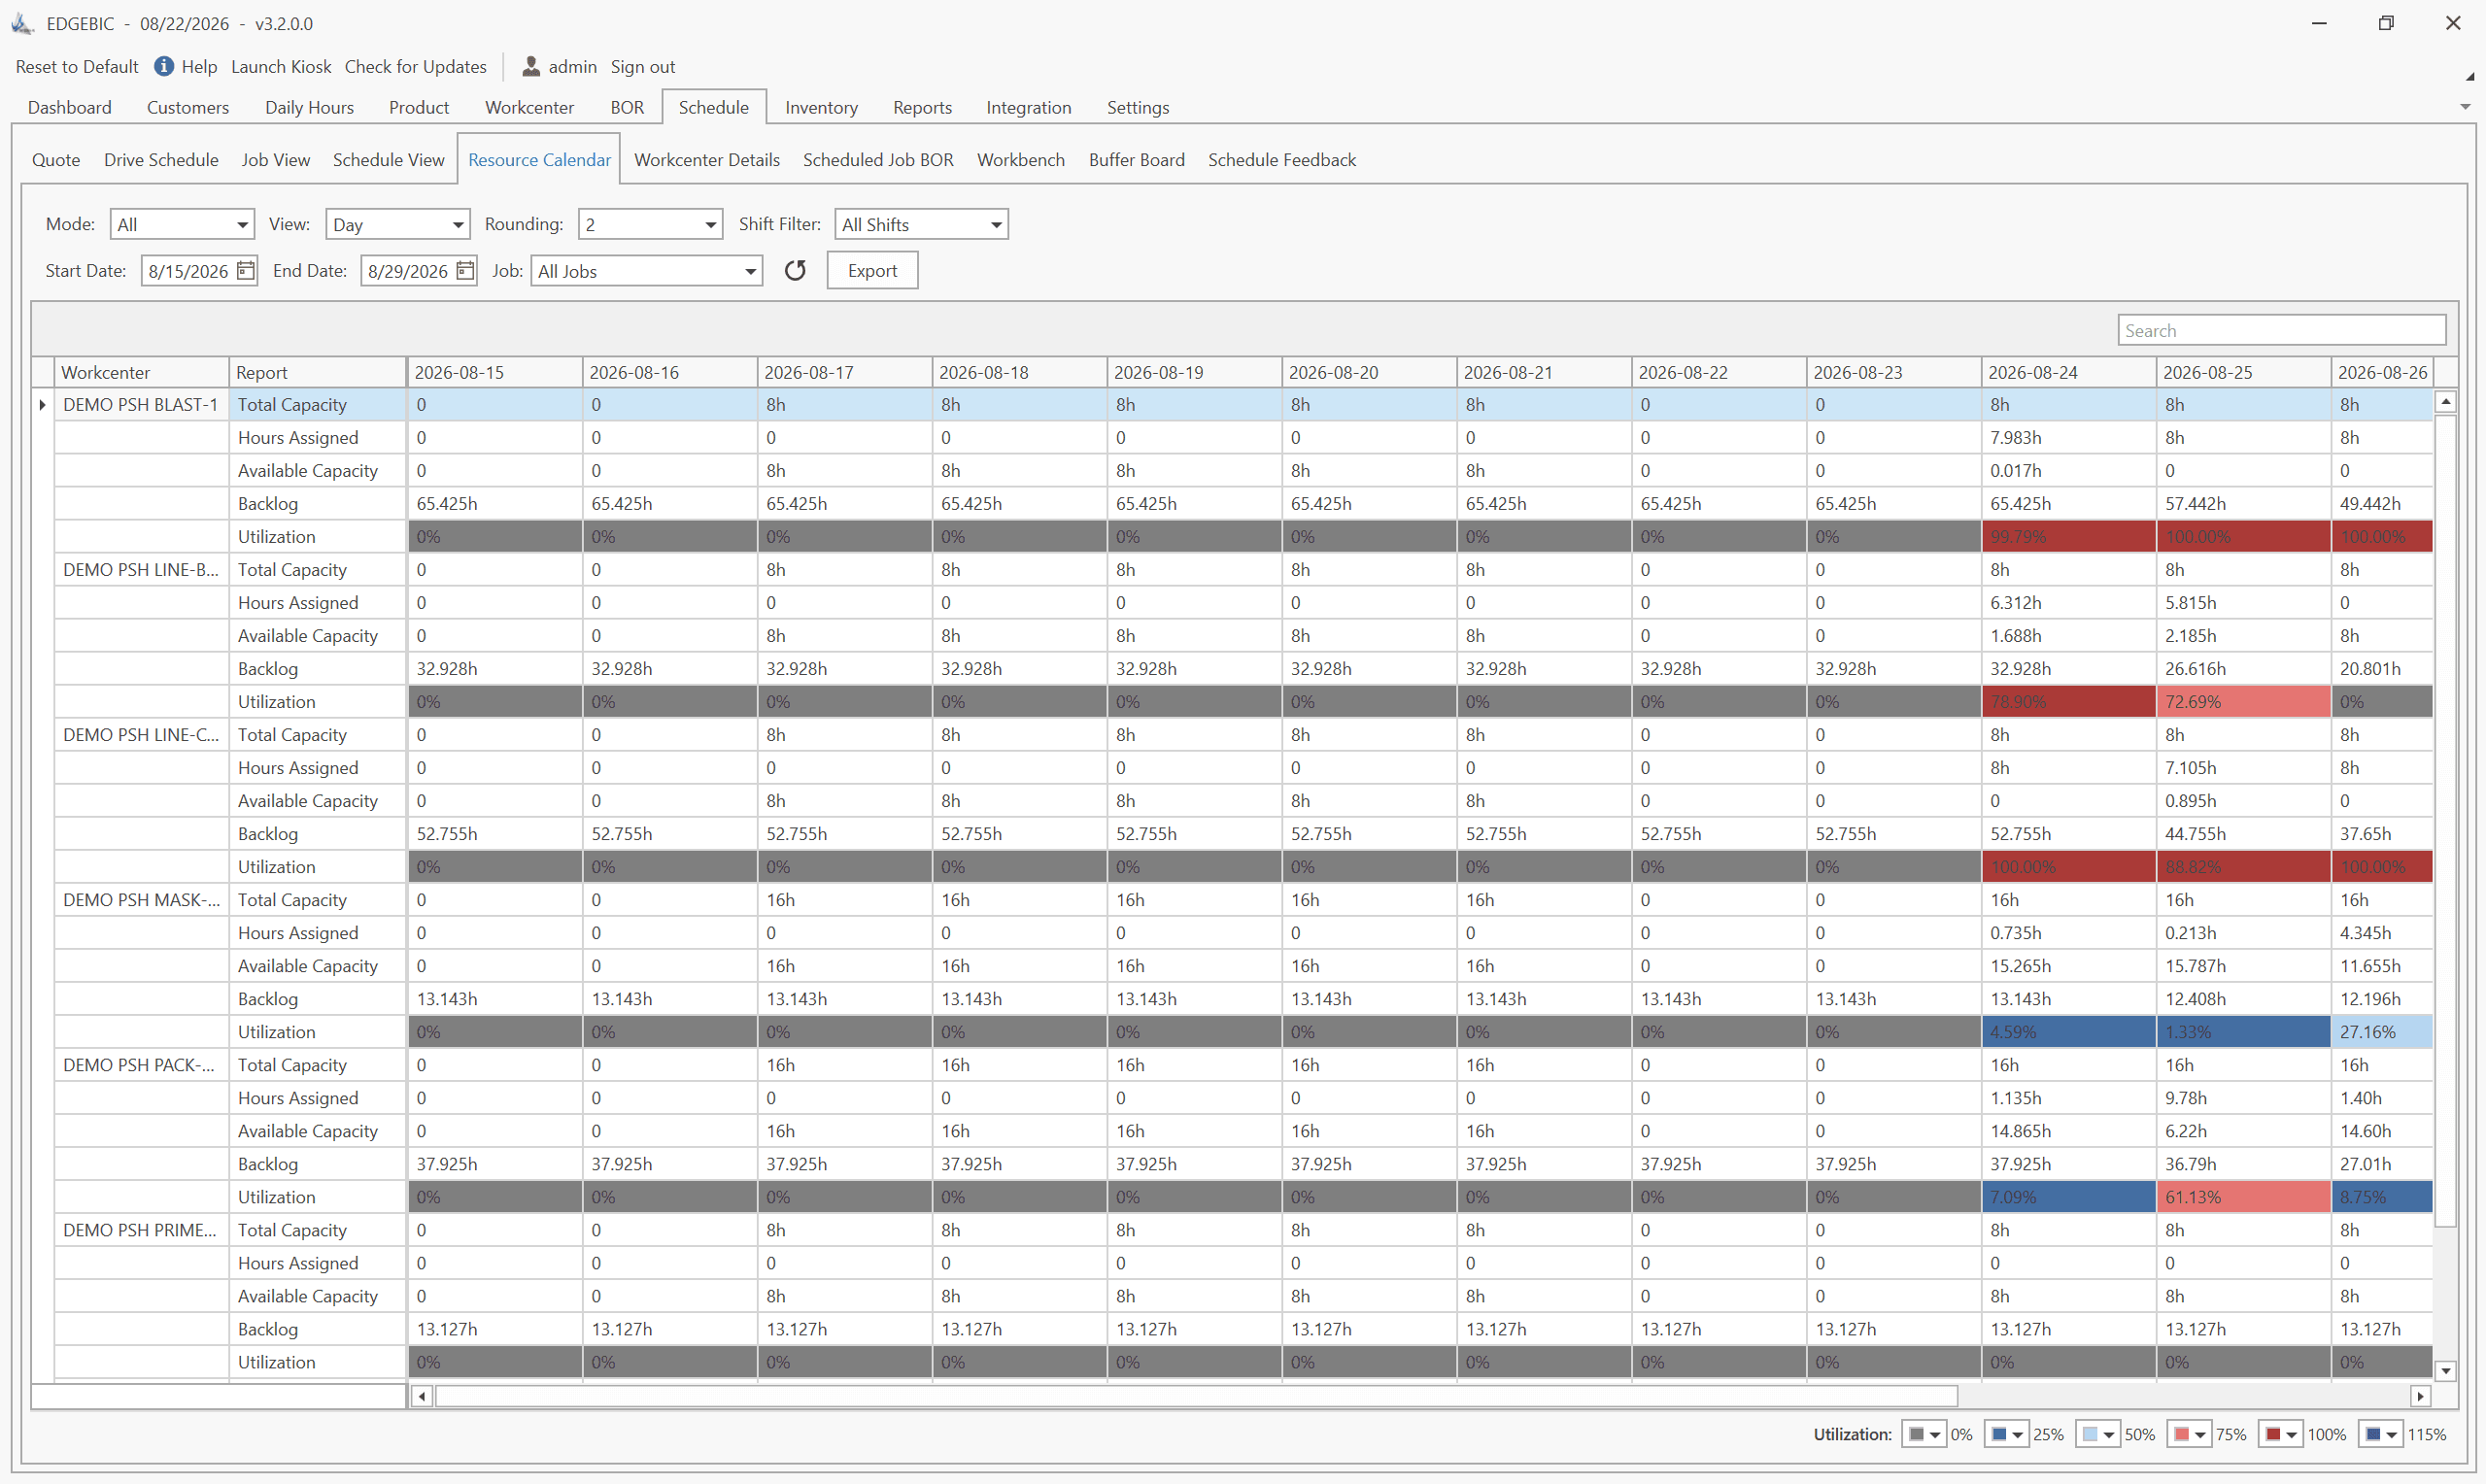
To create a production schedule, you decide the horizon, list each work center with the hours it really has, gather the open work orders, check the load, set the sequence, calculate start and finish dates, and then fix the conflicts before you publish. Those seven steps work whether you schedule on a whiteboard, in Excel or in software. The difference is how fast you can redo them when something changes.
Written by User Solutions, Inc., makers of RMDB and EDGEBIC (RMDB 2.0) by User Solutions, production scheduling software for manufacturers since 1991. Reviewed by the User Solutions planning team. Updated September 2026.
This guide follows the free production schedule Excel template: no email, no macros, with sheets named Work Centers, Work Orders, Schedule, Gantt and Load. Download it and follow along; each step below names the sheet it uses. The numbers in the worked example are the same ones that ship in the template, so you can check every date.
Before you start: plan first, then schedule
A schedule assumes you already know what to make and how much. That comes from the production plan or master production schedule, and from MRP for materials. If your weekly quantities are not settled, fix that first with the factory production planning template. If you are unsure where planning ends and scheduling starts, read production scheduling vs production planning.
Step 1: Decide the scope and the horizon
Write down three things before you touch a spreadsheet:
- What you schedule. Work orders? Individual operations? Most small shops schedule work orders at one key work center first, then expand.
- Which resources. Only the ones that limit output: machines, cells, or a skilled operator group. A deburr bench with spare hours does not need to be on the schedule.
- The horizon. One to two weeks in daily detail is enough for most job shops. Decide how much of it is frozen: often the current day.
Step 2: List work centers and their real capacity
Template sheet: Work Centers
For each work center, enter hours per day and days per week. Use the hours the work center actually produces, not the hours the building is open:
Available hours per day = shift hours - planned breaks - planned maintenance - typical unplanned loss
An 8.5-hour shift with 30 minutes of breaks and a machine that loses about 10 percent to small stops gives about 7.2 productive hours, not 8.5. Overstating capacity is the most common reason a schedule is wrong on day one. Set the schedule start date to a Monday.
Step 3: Gather open work orders
Template sheet: Work Orders
For each job: work order number, customer, work center, run hours and due date. Get run hours from the routing (setup plus run time per piece times quantity) or from actual history. A job with a made-up run time will be scheduled precisely wrong.
Job hours = setup hours + (run hours per piece x quantity)
If a job routes through several work centers, it needs one row per operation, and each later operation cannot start until the one before it finishes. Keep that in mind; it is the point where spreadsheets start to hurt.
Step 4: Check the load before you sequence
Template sheet: Load
Add up the hours of all jobs on each work center for the week and compare them with available hours:
Load % = total job hours on the work center / available hours x 100
The template flags each work center OK, TIGHT or OVER. If a work center is OVER, no sequence will make every job on time. You need more hours (overtime, a second shift), fewer hours (move work to an alternate machine or to next week), or a new date agreed with a customer. Knowing this before you sequence saves an hour of shuffling jobs that cannot fit. The capacity planning template runs the same check further ahead, by week.
Step 5: Set the sequence on each work center
Template sheet: Work Orders (Sequence column)
Number the jobs on each work center: 1 runs first. Start with a rule, then adjust by hand:
- Earliest due date (EDD) minimizes lateness in most shops. Use it as the default.
- Shortest processing time (SPT) pushes the most jobs through, but long jobs can wait too long.
- Critical ratio compares the time left to the work left and re-ranks as days pass; see critical ratio scheduling.
Then move priority customers up, and group jobs that share a setup where that saves real time.
Step 6: Calculate start and finish dates and flag late jobs
Template sheets: Schedule and Gantt
Each job starts when the jobs ahead of it on the same work center are finished. With hours per day as the capacity:
Start day = INT(hours loaded ahead / hours per day) + 1
Finish day = ROUNDUP((hours loaded ahead + job hours) / hours per day, 0)
The template turns day numbers into dates with WORKDAY (weekends skipped), compares the finish with the due date, and marks the job ON TIME or LATE. The Gantt sheet draws the bars, and days past the due date turn red. This is forward scheduling: start as soon as possible and see where you land.
Step 7: Fix conflicts, publish, and update every day
For every LATE job or OVER work center, choose one fix and write it down: resequence, add hours, move work to another work center, split the job, or agree a new date with the customer. Then publish the schedule to the floor as a simple dispatch list per work center: the jobs in order, with start times.
Update it daily. Record what actually finished, re-run steps 4 to 6, and republish. Protect the frozen window: inside it, the sequence changes only when a supervisor approves.
Worked example: six work orders, two work centers, one week
This is the example that ships in the template. Both work centers run 8 hours a day, Monday to Friday, starting Monday 21 September.
Step 2 and 3 inputs:
| Work order | Work center | Sequence | Run hours | Due |
|---|---|---|---|---|
| WO-101 | CNC | 1 | 10 | Tue 22 Sep |
| WO-102 | CNC | 2 | 12 | Wed 23 Sep |
| WO-103 | CNC | 3 | 14 | Fri 25 Sep |
| WO-104 | ASSY | 1 | 6 | Wed 23 Sep |
| WO-105 | ASSY | 2 | 16 | Thu 24 Sep |
| WO-106 | ASSY | 3 | 20 | Fri 25 Sep |
Step 4, the load check:
| Work center | Loaded hours | Available (5 x 8) | Load | Flag |
|---|---|---|---|---|
| CNC | 10 + 12 + 14 = 36 | 40 | 90% | TIGHT |
| ASSY | 6 + 16 + 20 = 42 | 40 | 105% | OVER |
Before sequencing anything, we already know one assembly job will miss unless ASSY gets 2 more hours.
Step 6, the calculated schedule:
| Work order | Hours ahead | Start day | Finish day | Start | Finish | Due | Status |
|---|---|---|---|---|---|---|---|
| WO-101 | 0 | INT(0/8)+1 = 1 | ROUNDUP(10/8) = 2 | Mon 21 | Tue 22 | Tue 22 | On time |
| WO-102 | 10 | INT(10/8)+1 = 2 | ROUNDUP(22/8) = 3 | Tue 22 | Wed 23 | Wed 23 | On time |
| WO-103 | 22 | INT(22/8)+1 = 3 | ROUNDUP(36/8) = 5 | Wed 23 | Fri 25 | Fri 25 | On time |
| WO-104 | 0 | INT(0/8)+1 = 1 | ROUNDUP(6/8) = 1 | Mon 21 | Mon 21 | Wed 23 | On time |
| WO-105 | 6 | INT(6/8)+1 = 1 | ROUNDUP(22/8) = 3 | Mon 21 | Wed 23 | Thu 24 | On time |
| WO-106 | 22 | INT(22/8)+1 = 3 | ROUNDUP(42/8) = 6 | Wed 23 | Mon 28 | Fri 25 | 1 working day late |
Step 7, the fix. Two hours of overtime on ASSY raises it to 8.4 hours a day for the week (42 / 5 = 8.4). WO-106's finish day becomes ROUNDUP(42 / 8.4) = 5, which is Friday 25 September: on time.
Why sequence matters as much as capacity. Suppose a priority customer asks for WO-103 first on the CNC. The CNC load does not change (36 hours), but the dates do. WO-103 finishes on day ROUNDUP(14/8) = 2, WO-101 on day ROUNDUP(24/8) = 3 (one day late), and WO-102 on day ROUNDUP(36/8) = 5 (two days late). Same hours, two late jobs. The sequence made them late, not the capacity.
Common mistakes when creating a production schedule
- Scheduling against building hours instead of productive hours. Every date comes out early and the whole schedule slides.
- Skipping the load check. Planners spend an hour resequencing a work center that is simply over capacity.
- Guessing run times. Use routing standards or actuals. Round numbers everywhere are a warning sign.
- Ignoring operation order. A job cannot be assembled on Monday if it is machined on Wednesday. Single-row-per-job spreadsheets hide this.
- No frozen window. If the next shift's sequence changes every hour, operators stop following it.
- Publishing and forgetting. A schedule not updated with what actually finished is wrong by the second day.
- One person's private spreadsheet. If three people keep copies, nobody knows which is true.
- Scheduling only by due date. Setups can decide whether you ship. Grouping similar jobs can free hours that no rule finds on its own.
When a spreadsheet stops being enough
The template is the right tool for a small shop with single-operation jobs. These are the signs you are outgrowing it:
- Jobs route through several work centers, and later operations have to wait for earlier ones.
- More than about 50 active work orders or 8 work centers.
- You spend more than two hours a week maintaining the sheet instead of running production.
- You cannot answer "what if I move this job to Tuesday?" in under a minute.
- Setups, shifts, holidays or alternate machines differ by work center.
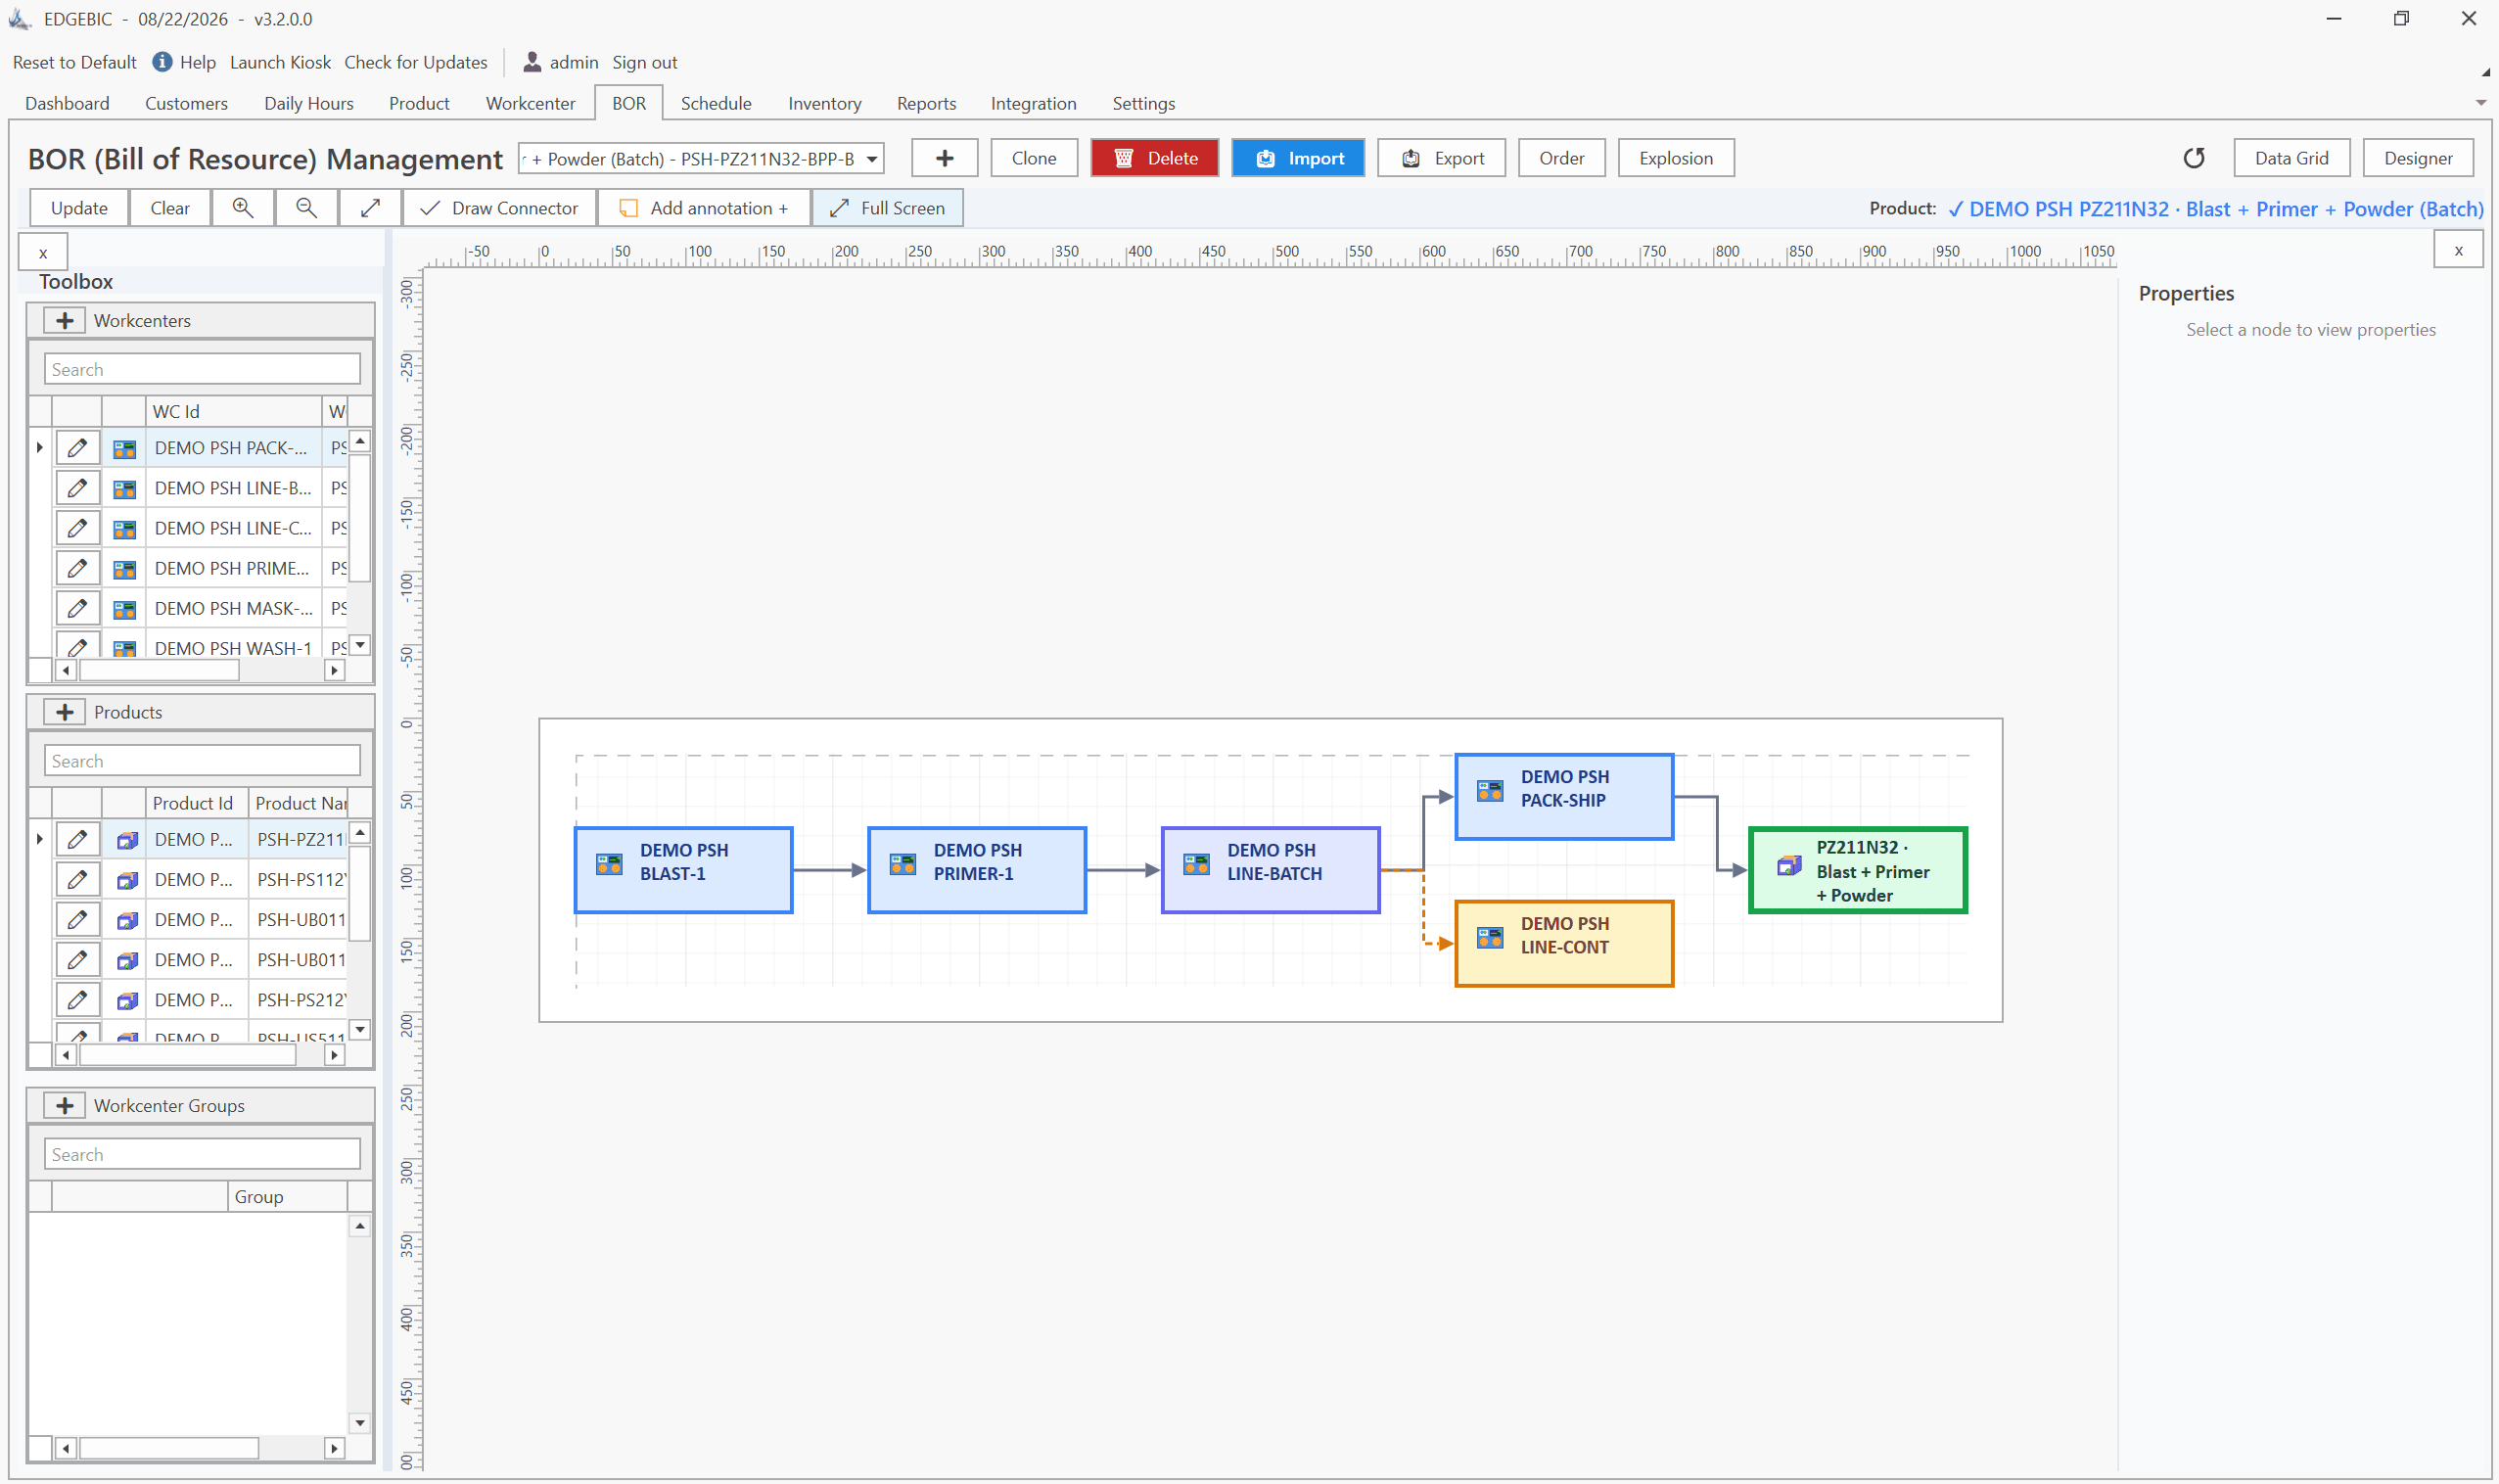
At that point the same seven steps are done by finite capacity scheduling software: it loads every operation of every routing against real shift calendars, sequences with setups in mind, and lets you drag a job on a Gantt chart and see what moves.
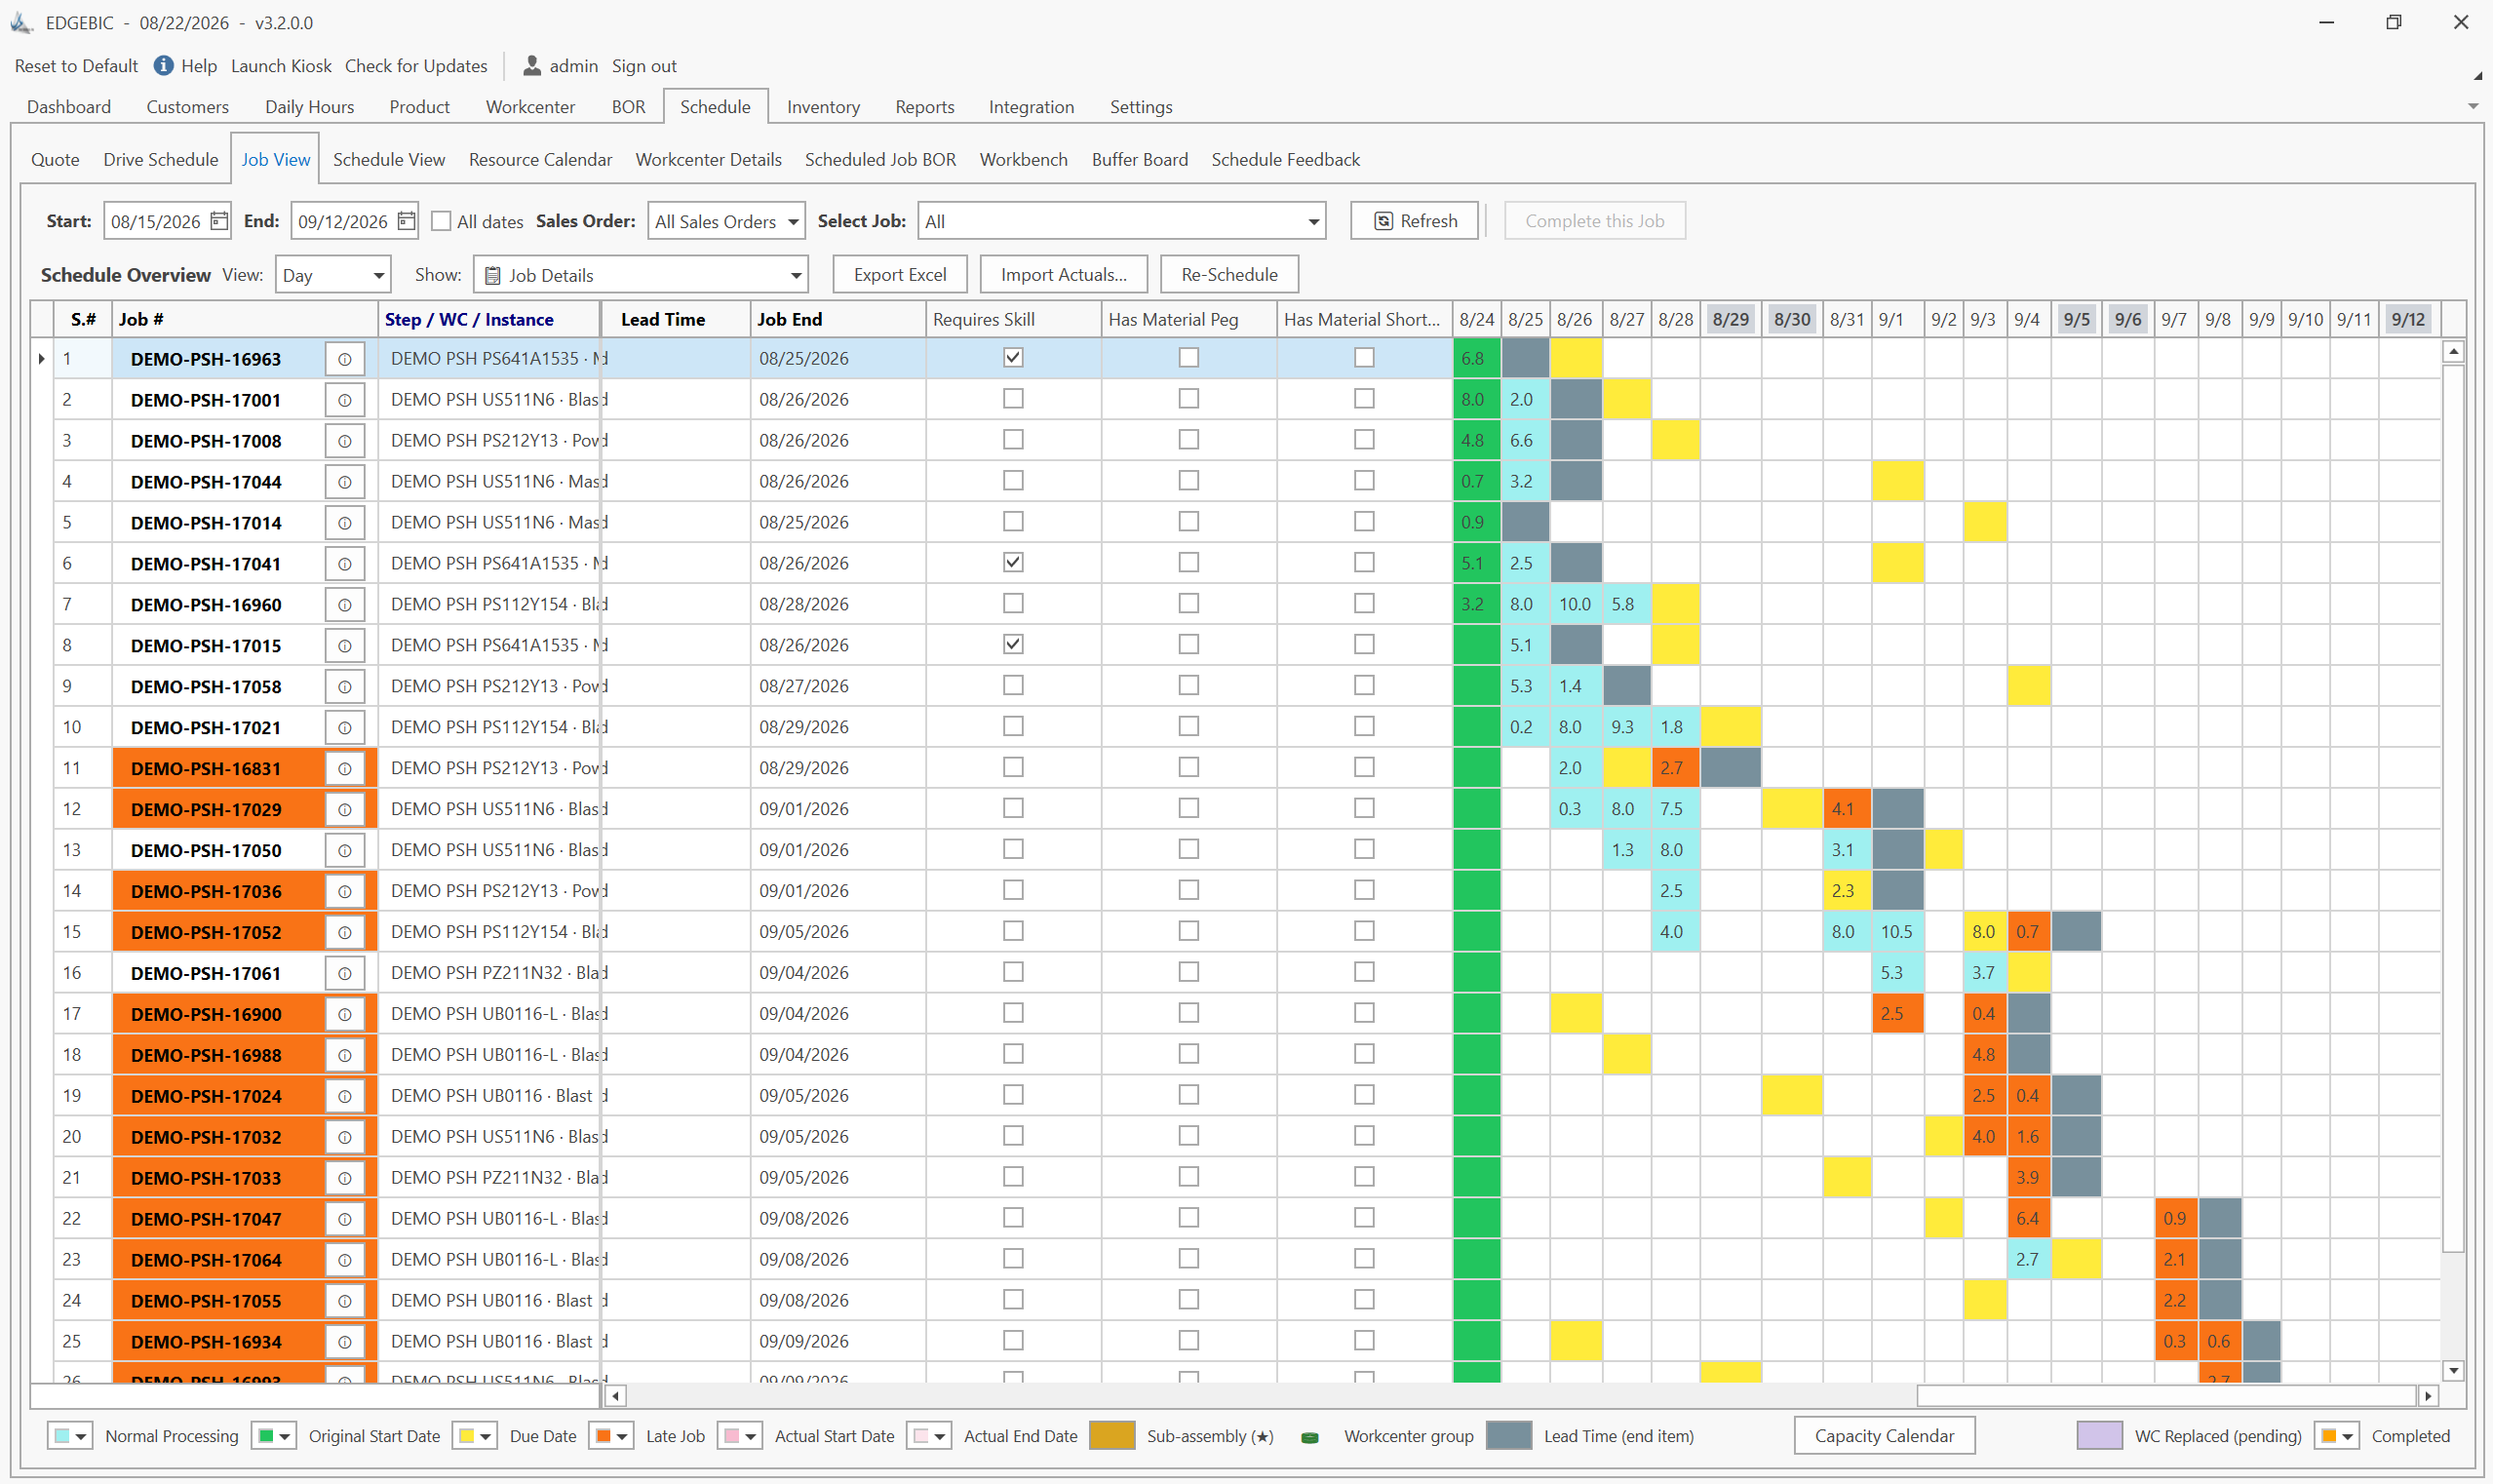
That is what EDGEBIC (RMDB 2.0) by User Solutions does. It continues RMDB, the finite capacity engine behind 35 years of User Solutions customer results; Homestead Furniture used it to cut scheduling effort from 40 hours a week to 2. EDGEBIC imports work orders and routings from your ERP or from Excel, schedules them against finite capacity, and exports the dates back. It is a one-time $25,000 license for EDGEBIC APS, or $35,000 for EDGEBIC Complete with MRP, inventory and purchasing. See production scheduling software, EDGEBIC and pricing.
Related reading
- Free production schedule Excel template: the sheet used in this guide
- Production scheduling methods: rules and techniques in more depth
- Production planning and control: where scheduling sits among routing, loading, dispatching and expediting
- MRP vs APS: why MRP dates are not a schedule
- Gantt charts for job shops: reading and using the Gantt view
Frequently Asked Questions
Ready to Transform Your Production Scheduling?
User Solutions has been helping manufacturers optimize their production schedules for over 35 years. One-time license, 5-day implementation.

User Solutions Team
Manufacturing Software Experts
User Solutions has been developing production planning and scheduling software for manufacturers since 1991. Our team combines 35+ years of manufacturing software expertise with deep industry knowledge to help factories optimize their operations.
Share this article
Related Articles
Production Planning and Control (PPC): Functions and Examples
Production planning and control explained: routing, loading, scheduling, sequencing, dispatching and expediting, the types of scheduling, and worked examples.

Sequence-Dependent Setup Times: The Scheduling Problem That Costs You Capacity
When changeover time depends on what ran before, standard scheduling fails. Learn how setup matrices, sequence optimization, and APS software recover 10-25% of hidden capacity in paint lines, food, and coating operations.

Subcontracting in Your Production Schedule: When and How to Outsource Operations
Learn how subcontracting changes your production schedule - modeling OP lead times, outside processing routing steps, vendor capacity constraints, and single-source subcontractor risk.